Need to downgrade WordPress version to a previous release? Whether you’re dealing with plugin incompatibility, theme conflicts, or unexpected bugs after an update, rolling back WordPress is much easier than you might think. All you need to do is follow the simple steps in this guide.
Why Would You Need to Downgrade WordPress Version?
There are several common reasons site owners choose to downgrade WordPress. Sometimes a new WordPress core update breaks compatibility with essential plugins or your active theme. Other times, the latest version may introduce bugs that affect your site’s performance or layout. In these cases, reverting to a stable previous version gives you time to troubleshoot without losing functionality.
Before You Downgrade WordPress: Backup First
Before you proceed, always create a full backup of your website, including both files and the database. This ensures you can restore your site if anything goes wrong during the downgrade process. You can use popular backup plugins like UpdraftPlus or your hosting provider’s built-in backup tools.
Step-by-Step Guide to Downgrade WordPress Version
- Install plugin WP Downgrade.
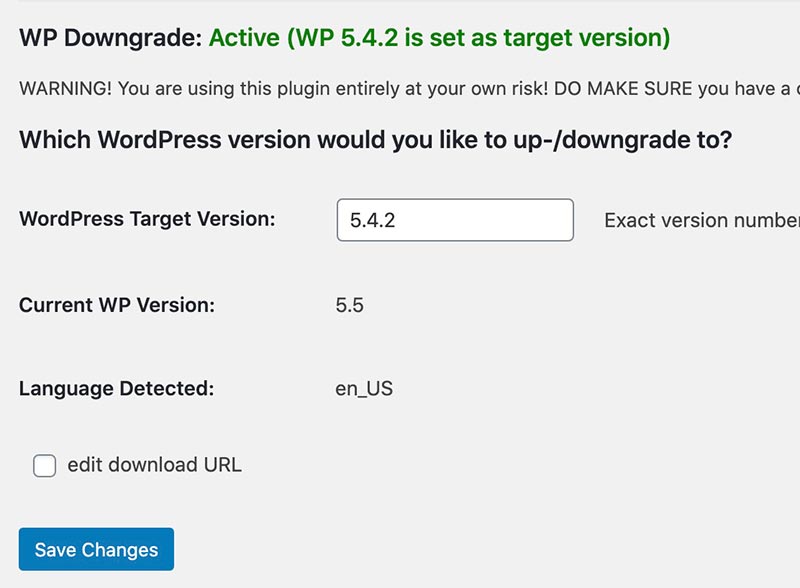
- Once installed, go to Settings of the WP Downgrade.

- Key in the Targeted Version Number and save changes. You may visit WP Releases for the exact version number.
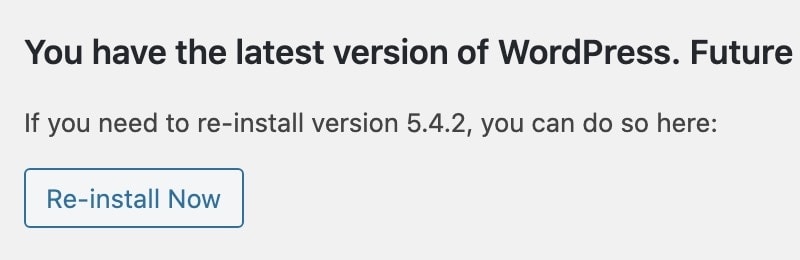
- Go to Dashboard > Updates, and click Re-install now to continue the process of Downgrade WordPress.
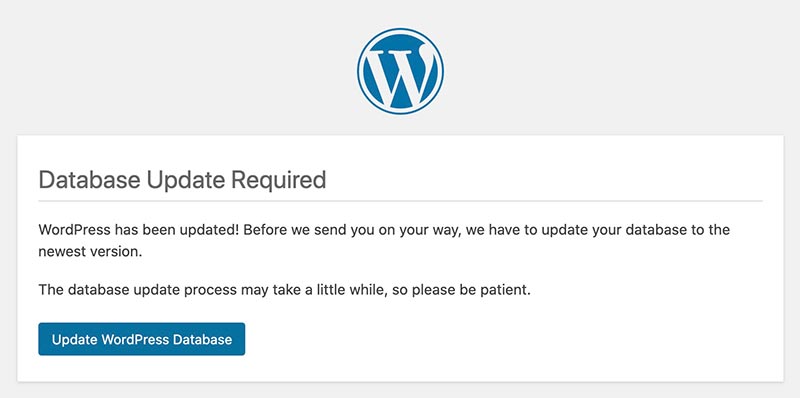
- Continue with Update WordPress Database.
- That’s all you need to Downgrade WordPress.
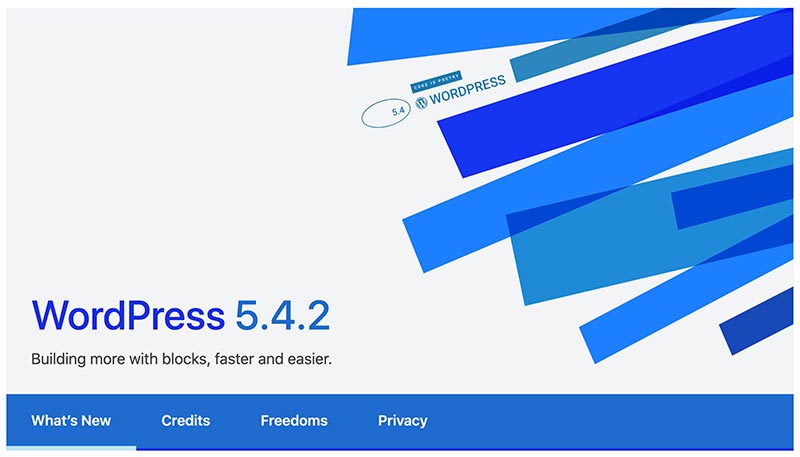
Photo by Jim Wilson on Unsplash